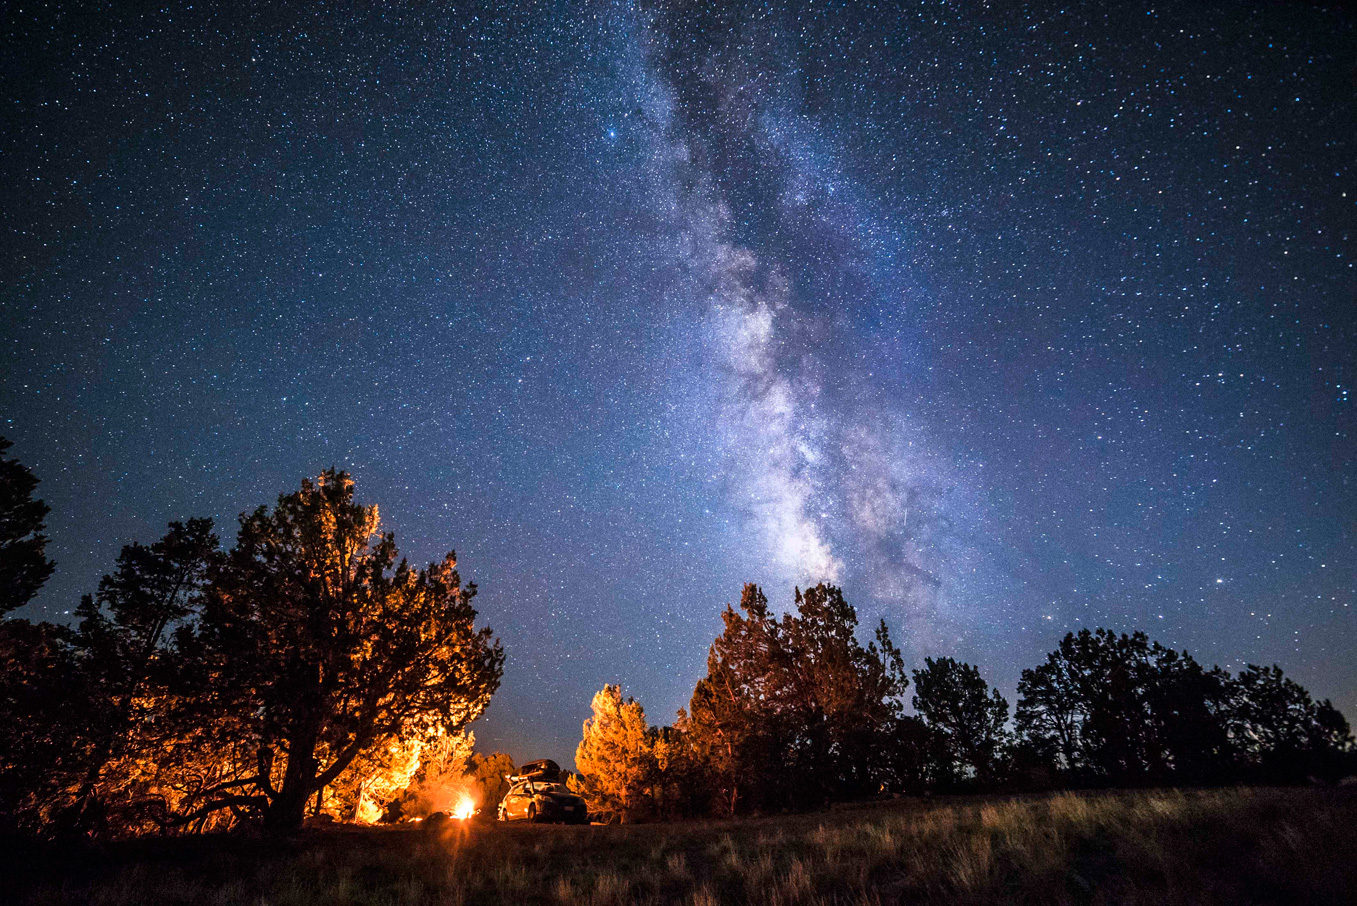
 There is no question that a stunning Milky Way photo or time-lapse demands a moment of wonder from the viewer. You come across them on Instagram and Facebook all the time and seems to never get old. In the past I’ve struggled to make the Milky Way pop. Im no expert, but I have spent a lot of time in the struggle and have had consistent results that work for me. I’ve come up a small list of how to get a great Milky Way shot with your DSLR.
Gear You Will Need
The first trick to being in your Milky endeavors is making sure you’re set up for success. Now, I get not everyone has or can afford the expensive camera bodies or lenses, but you will need a fairly fast lens with an aperture of F2.8 or better. I’d also say having a wide lens also tends to look better, but maybe trying a tighter lens could be rad for a different effect. I shoot on a 14mm F2.8 lens for my Milky Way shots, my friend tends to shoot on a 24mm F1.4 lens so its really up to what you’ve got or can afford. If you don’t have any fast lenses look into renting one online or from a local camera store, one day is pretty affordable and will do wonders for your Milky Way shots. Other gear you need is a tripod and a Mountainsmith bag to carry it to where you want to shoot ;).
Location
One of the biggest keys to success while shooting stars is finding the best location. You want to find a super dark area out in the wilderness away from any cities. If you have no idea where the nearest dark spot is to you look it up at darksitefinder.com. The closer to a new moon it is the better your results will be. A good indicator of how good of shots you can potentially get is if you can see the Milky Way with your naked eye.
Camera Settings
Once you’ve got the location and the right gear it’s game time and nailing the settings is key. Go into the settings of your camera and make sure you are shooting in RAW not JPG. Make sure your camera is set to full manual and lens as well so you can control your shutter speed, aperture, ISO and lens separately. This may intimidate people, but stick with it you’re almost there. First make sure your aperture is wide open at F2.8 or larger(smaller number). Next find where infinity is on your lens. For some you just turn the focus ring all the way to infinity, but on some lenses its just under the infinity make. You may need to do a few test shots to get that part right. Then you move onto the shutter and ISO. Typically a shutter speed of 20-30 seconds is a good place to start. ISO will be different depending on the camera body you are using. I’d say start at ISO 2000 and take a test shot you should start to see the Milky Way fairly well. Keep making the ISO higher and doing test shots until you get too grainy of a shot then move it back down to a less grainy shot and still with those ISO settings. Some cameras will let you shoot at ISO 10,000 and still have little noise and some will only let you get up to 3200 before the noise is unusable. You will learn what your camera can do. Now that you have the settings nailed down, fire away. Using the best settings on your camera will help with the final step of editing. Be creative in you compositions and try to have fun exploring astro photography.
 Post Production Editing

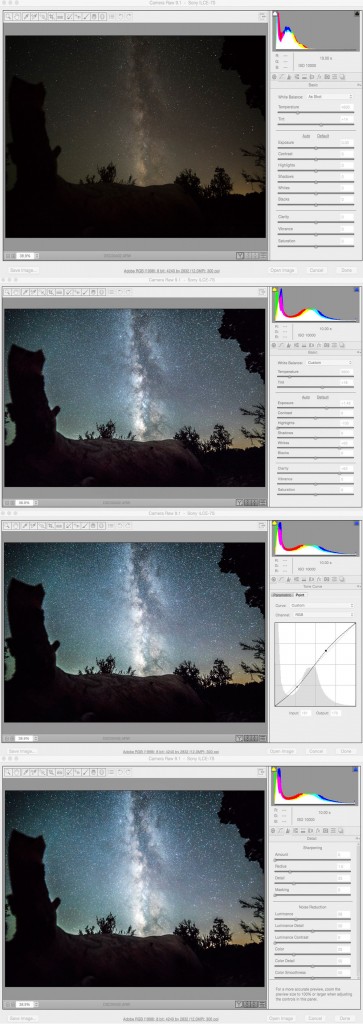
Editing is the part of getting great Milky Way shots that most people won’t tell you about. It’s really the key and the secret to making the Milky Way pop. A lot of photographers use Lightroom to edit photos, I use Photoshop just because I’ve always used it so its familiar to me. Im going to explain a basic edit job to make the Milky Way pop that should apply to people who use LR or PS. First import what you think is the best photo you’ve got from your Milky session. Then you’ll adjust basic slider setting in Camera Raw or Lightroom. these would be:
- Lift the exposure little(don’t make it too noisy/grainy), I like to lower my highlights and then bring up my whites. Also move your clarity up a decent amount and change the color temperature to the color you would want. I like cooling the milky way down and maybe making it a little more magenta.
- Click over to the histogram. Here you can slightly bring up more highlights and crush the darks a little more, don’t go crazy with it, but this will help a lot getting the Milky Way to pop just al little more.
- Go to the detail tab, this is where you can sharpen or not sharpen. By now your photo should be looking pretty decent, but most likely grainy. Find luminance in this tab, zoom in on the photo so you can see it well, then increase the luminance until the graininess is smoothed out. Then you are done.
This is a basic guide on how to get stellar Milky Way photos. Obviously each photo will be different and will be edited a bit different or the circumstances that you are shooting in will be different so be ready to adjust on depending on whats going on. Good luck and have fun. Once you’ve tried this throw a post up on Instagram and tag me, @ThreePeakFilms, so I can see how it turned out.
Follow Bruce:
![]()
![]()
![]()
![]()
You are teaching how to block up stars to white and make the night sky an unnatural blue. See my series on the color of the night sky and color of stars: http://www.clarkvision.com/articles/color.of.the.night.sky/
Try your same methods on a red sunset image. Would you change all the reds to blue, like you have done here in the night sky? Would you block up clouds in your daytime landscape images to all white like you have done here with the stars?
Hey Roger thanks for the comment and link to your article. Great work by the way. For me photography is about sharing how I see the world. That’s the beauty in it, it’s art it’s open for interpretation. Photography would be super boring if we shot through one person’s eyes. In this post I don’t teach people to change the sky color to blue, I say change the color balance to how you, the reader wants it. Thanks again for your comment and i’ll check out more of your work.
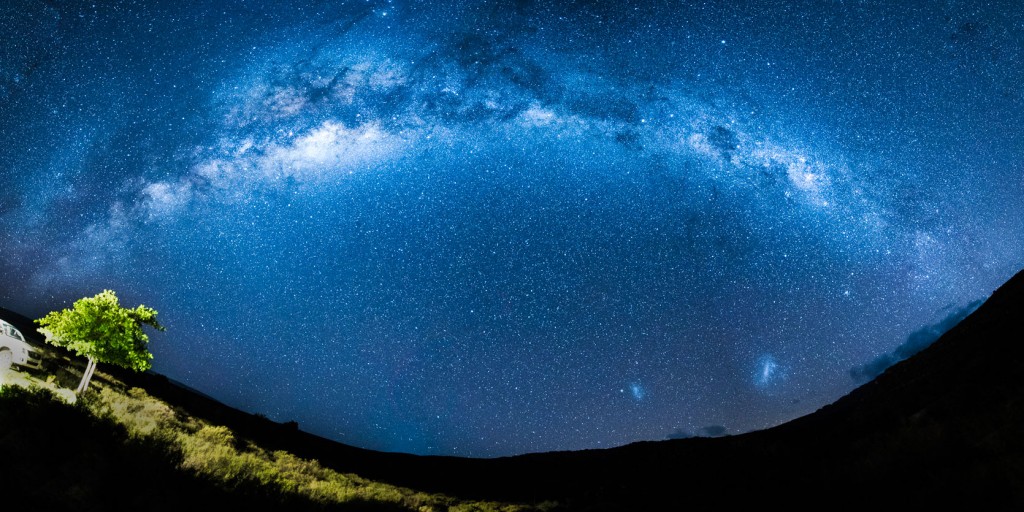
Awesome writeup George. Keep killing it, love the images at the bottom. Curious how you shot the big pano at the bottom?
Dave! Hey man thanks! Yeah, Milky way pano is something I have only tied like twice, that was the 2nd one, so its got a ways to go before it looks perfect. I’ll send you a FB message about it 😉
Sorry a little late responding here 😉 hope you are well 🙂 love this work !
Thanks so much for this… i have ready many threads about this topic and this is the most simple and will give me a base to start experimenting. Thank you 🙂
Kellie, thats great I’m so glad this helps! Yeah milky way season isn’t till the warmer months of the year in the northern hemisphere so you have a few months till the best part of the milky way is viewable again. Good luck next year though let me know how your shots turn out.
This is the best advice on astrophotography I’ve read. It will be a while before I can use it, though.
Thanks.
John Trammell
Yeah Astro stuff can be frustrating and a lot of trail and error. Im by no means an expert, but I do love it. Hopefully next year you’ll be able to get some killer milky way pics
P.S. Now that I know that you live in Boulder, I wonder if you have photographed the milky way from the Colorado National Monument.
John, I don’t live in Boulder :/ I do have a lot of friends there, but I haven’t been out that way in a while. Hope to be next year. 🙂
I actually based out of Utah
Thanks for the post. What size of lens are you using?
Yeah you’re welcome. I am using for most of my astro stuff a 14mm f2.8 Sometimes i’ll use a 20mm 1.8.
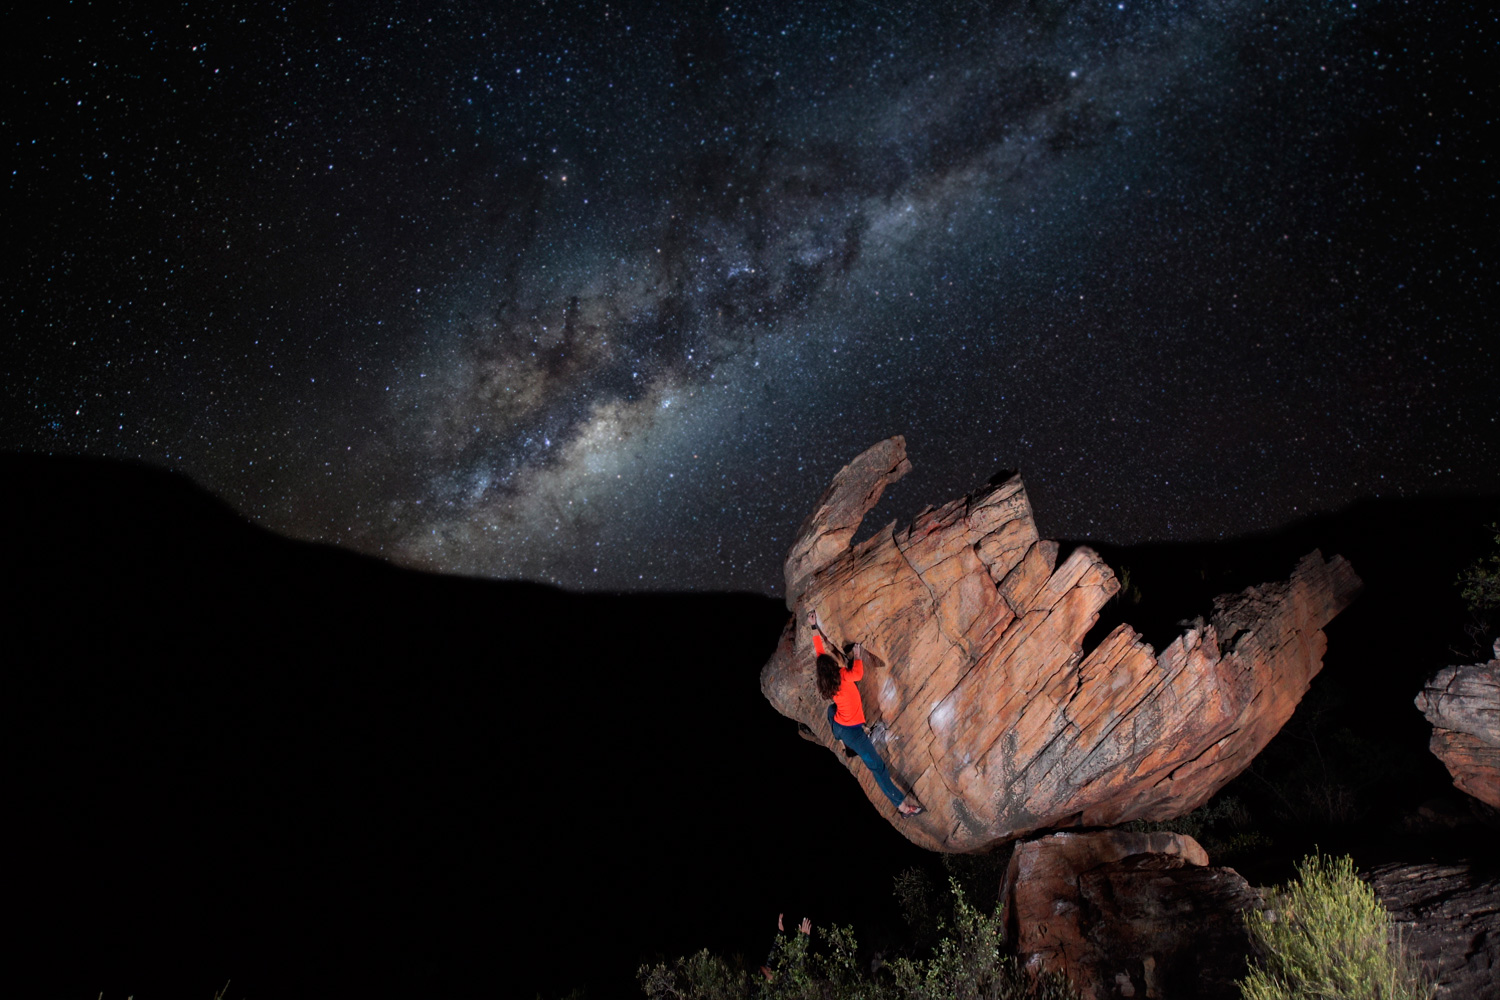
Could you tell me where that boulder is located that is in that photo? It’s amazing, and I’d love to check out more photos of it online..perhaps visit it if it’s close enough to me. Thank you!