By Chris Vultaggio
In this occasional series I’m leaving behind the extreme moments of adventure sports and focusing more on technique to help the novice photographer. My first installment took a look a portraiture, this go we’re moving to the outdoors and looking at getting creative with landscapes. Here I’ll offer a few tips beyond the usual “use a tripod” and how to blur water by dragging your shutter.
LIGHT
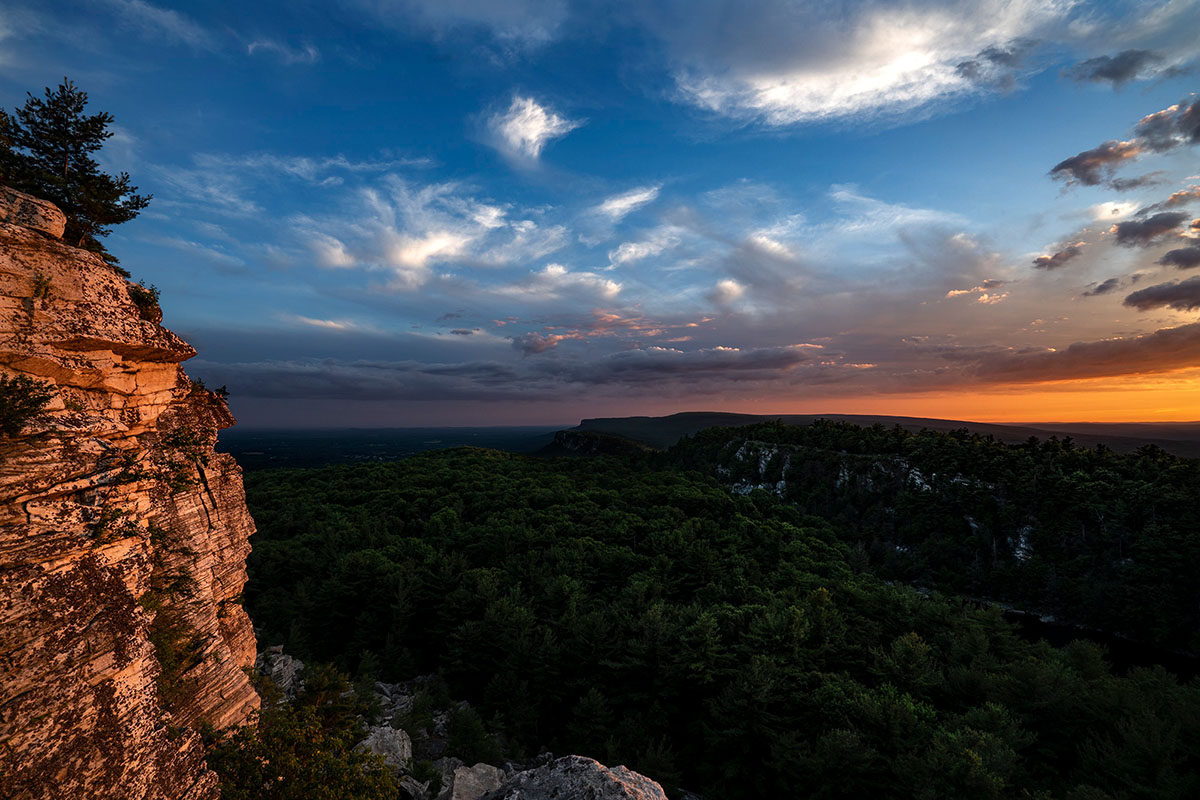
If you were to take a quick inventory of some of the most Instagrammable global locales you’ll find some recurring favorites: Iceland, Norway, Patagonia, Alaska. There’s a reason that photographers love shooting at extreme latitudes, and it’s not what you necessarily may think. Sure the wild landscapes help, but the reason many of these images are truly standouts is because there the sun hangs lower on the horizon.
Here it’s the angle that is critical, which converts into two factors: color and shape. The color I’ll discuss later, but just know that the lower the sun sits on the horizon the warmer the light is. The shaping works in a few ways, but I can summarize it here: imagine a white box floating in white space. Then imagine a bare bulb light (the sun) floating above the box. If the light is above the box, the top of the box becomes highlighted, while the sides stay pretty dull. If the light comes from the side, one side of the box is in crisp light, while the rest are in darker shadow (more contrast). The latter example is when the sun is low on the horizon, and is far more pleasing light for shaping your subjects.
Here in the northern hemisphere we get more of this light in the winter months, when the sun makes a lower arc in our sky. This low arc gives objects a very dimensional look, from people to trees to buildings. In other words, get out and shoot in this light before it’s gone…
Believe it or not one of the most difficult places to shoot sunset light in is the tropics; equatorial light has the sun overhead for much of the day, and the sunsets go by frustratingly fast. If you’re in an island paradise and want that sunset be sure to get there early.

FOCAL LENGTH
Ask any pro photographer what makes a good focal length for landscape and you’ll probably land anywhere from 14mm-24mm. Which is not exactly a news flash, fake or otherwise. Wider angles allow for broader fields of vision, capturing sweeping savannahs and skylines.
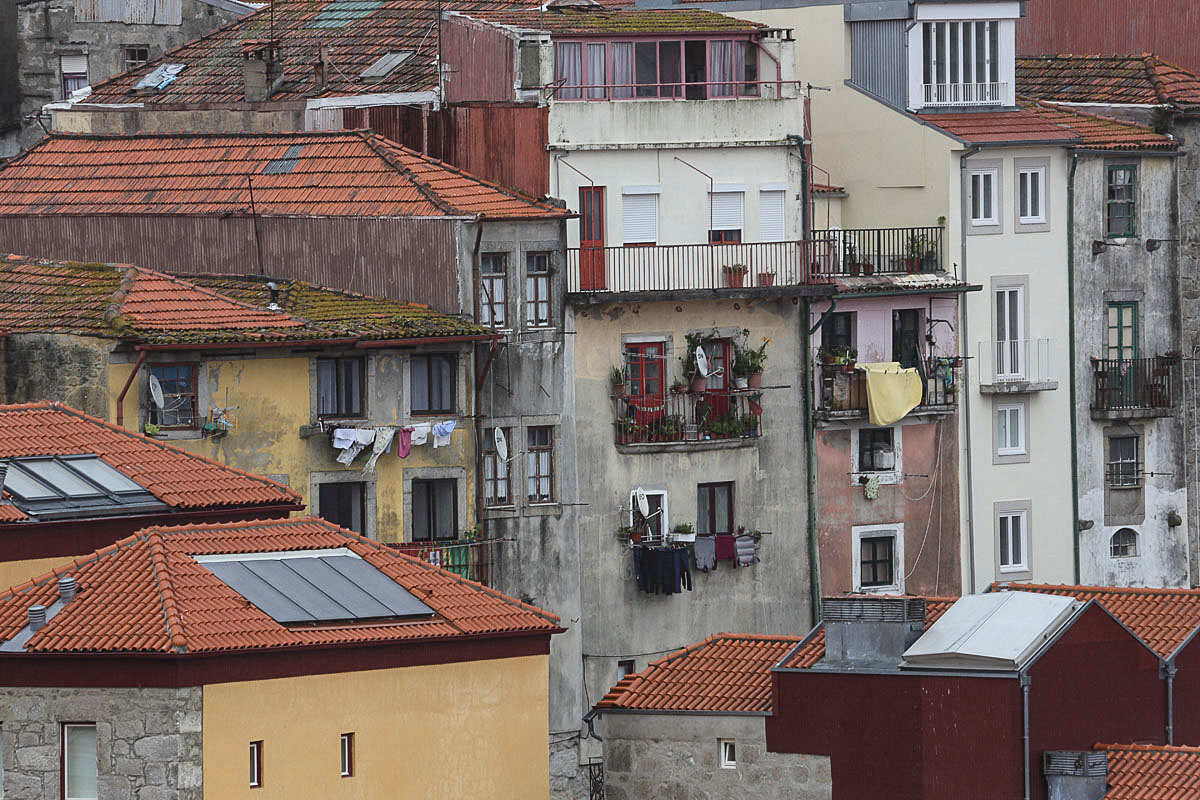
But I’d like to introduce you to long focal landscape technique. A few years back I was leading a photo expedition through the Iberian Peninsula and spent a lot of time developing what I’ve grown to call “compression landscapes.”
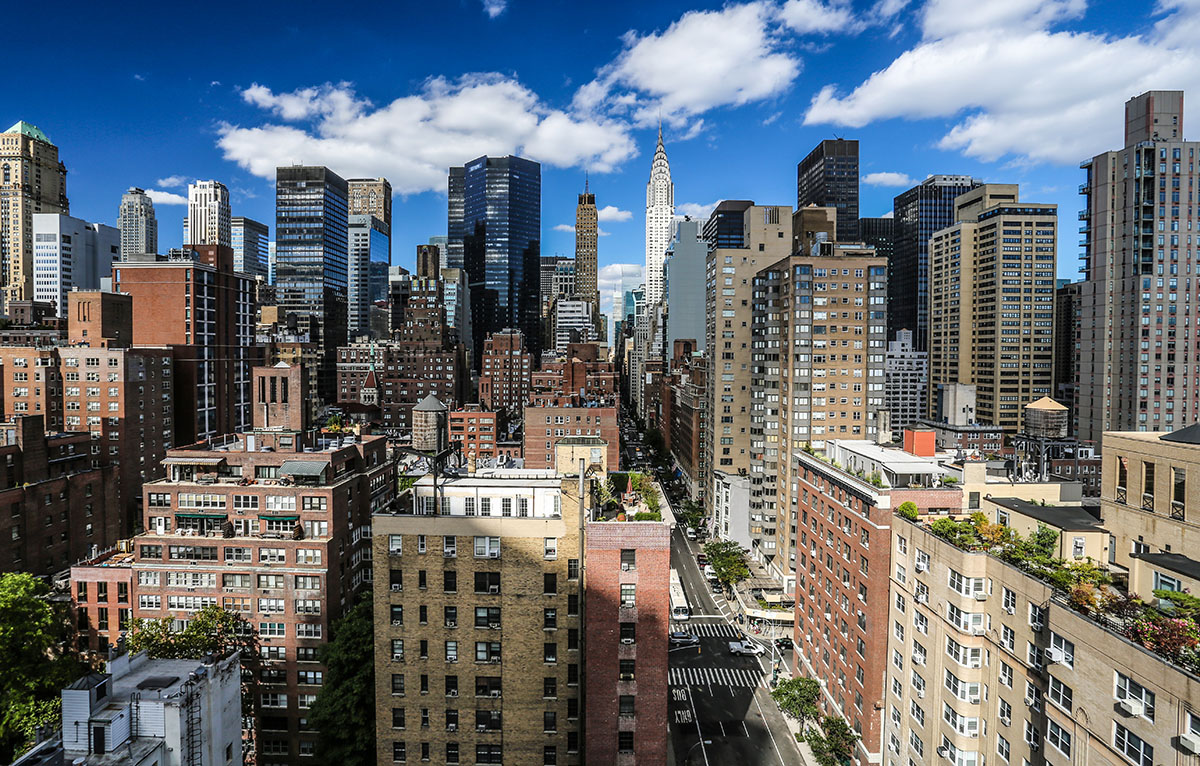
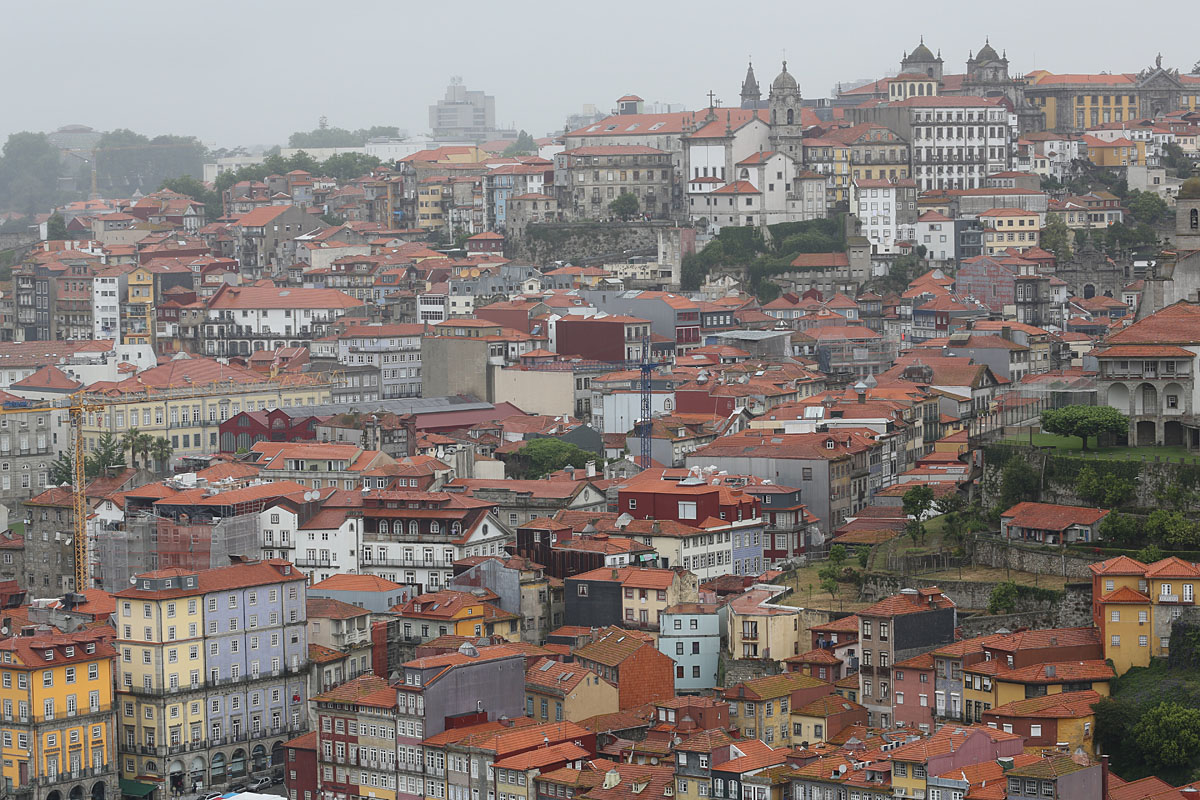
Using the natural compression from a long-barrel lens it tightens up a landscape, forcing the foreground elements to appear closer to the background elements. Due to lens mechanics, it lends an almost abstract quality to cityscapes, compressing the buildings into a 2-D space.
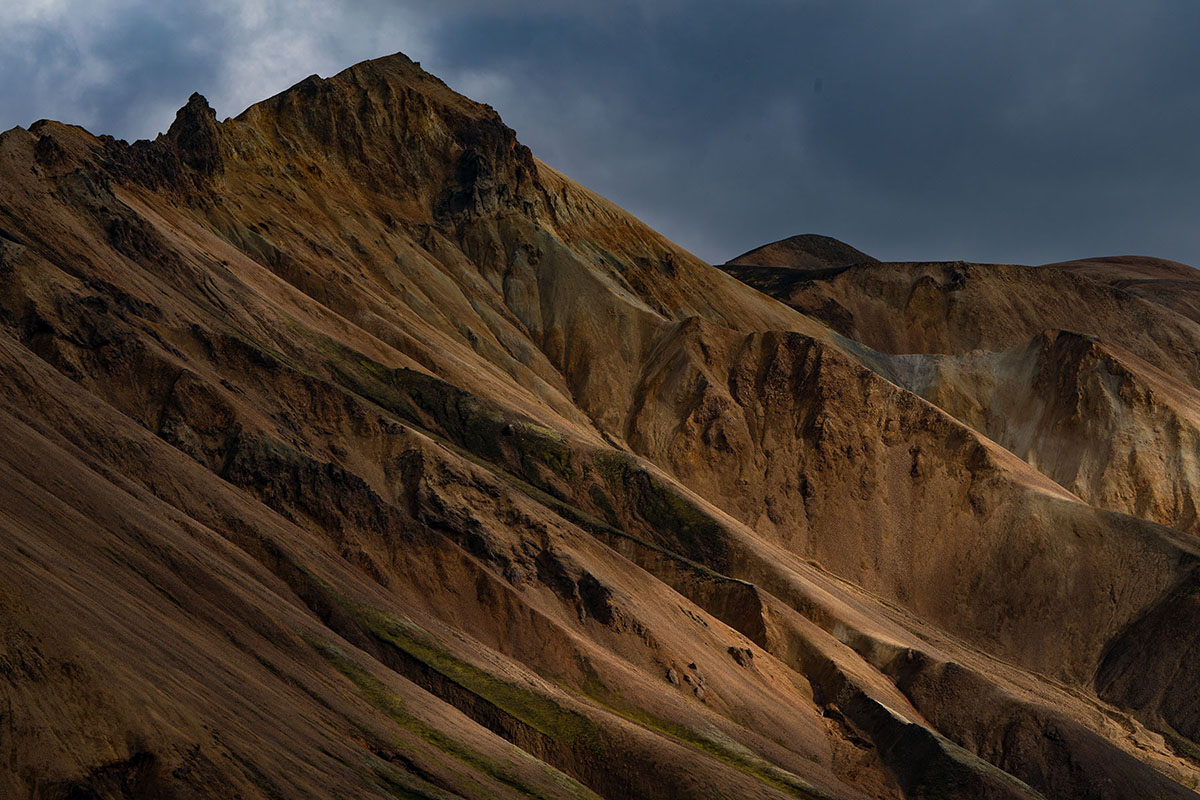
This translates to the natural landscape as well, as seen in this Icelandic mountain scene from the interior of the island.
PEOPLE
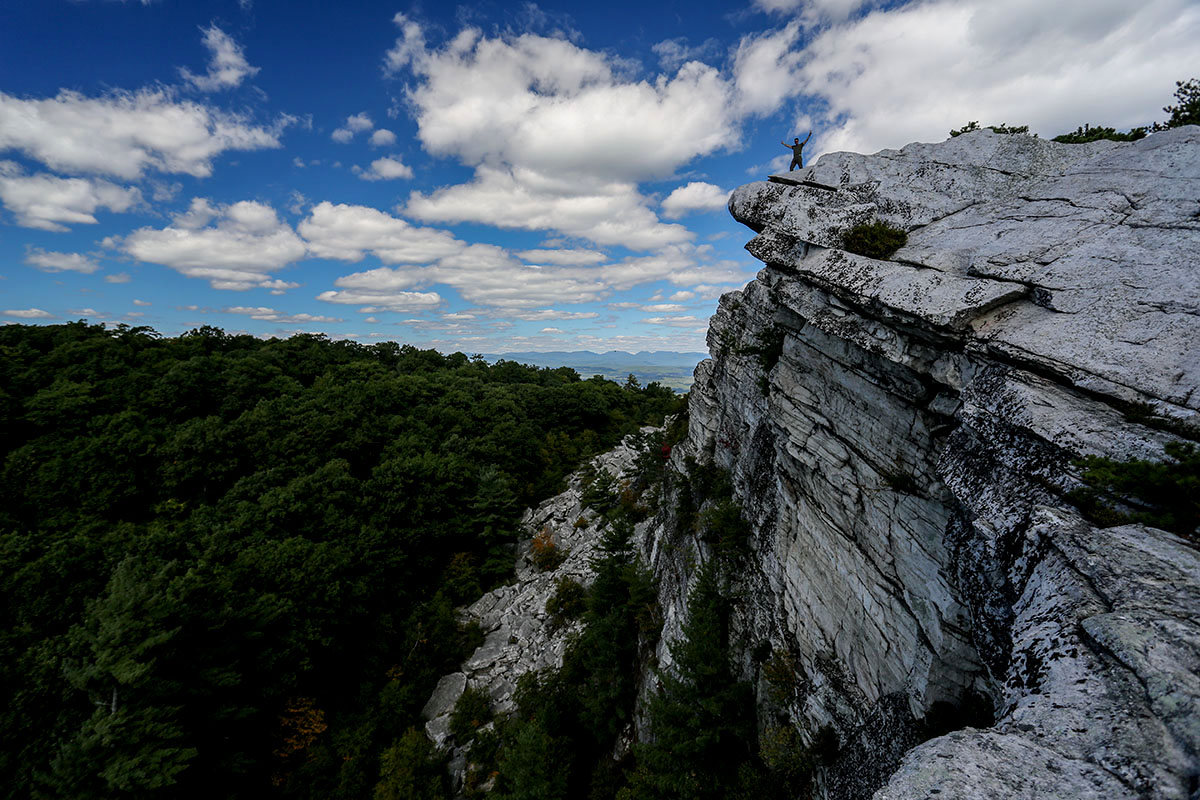
Want to unlock a whole new dimension of your landscapes? Try including people.
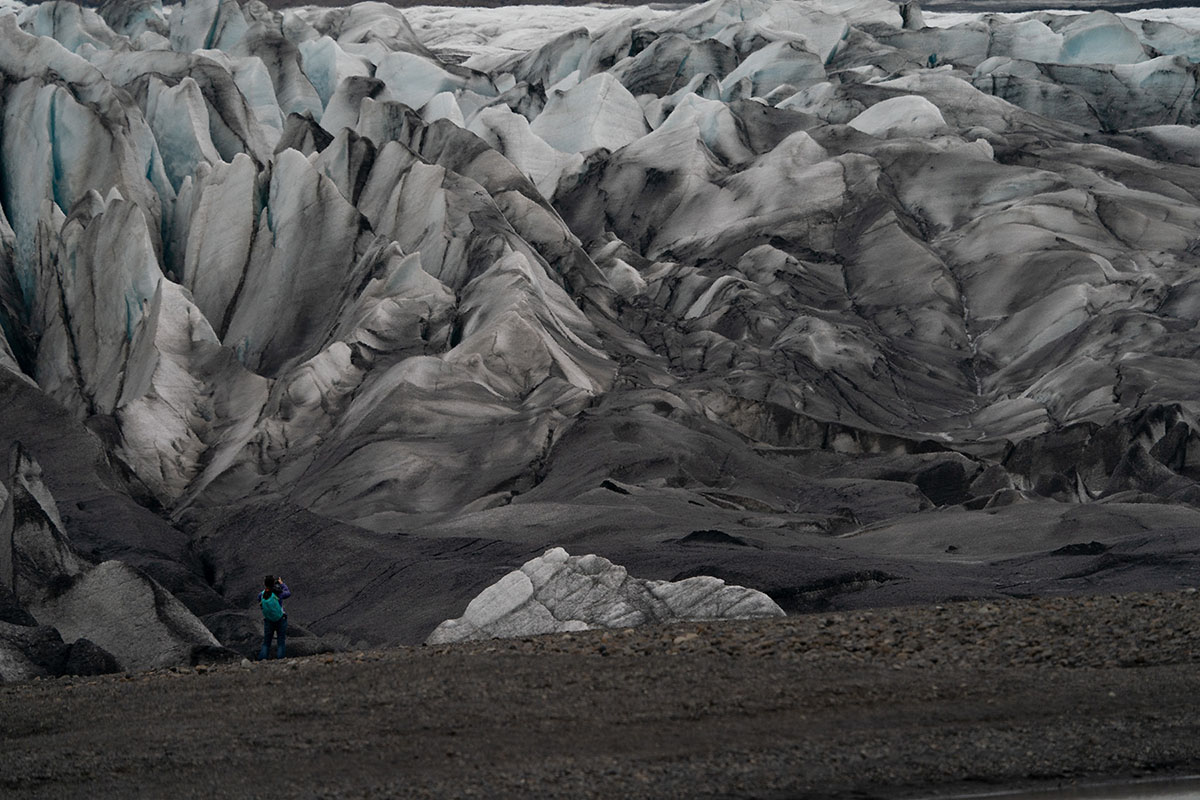
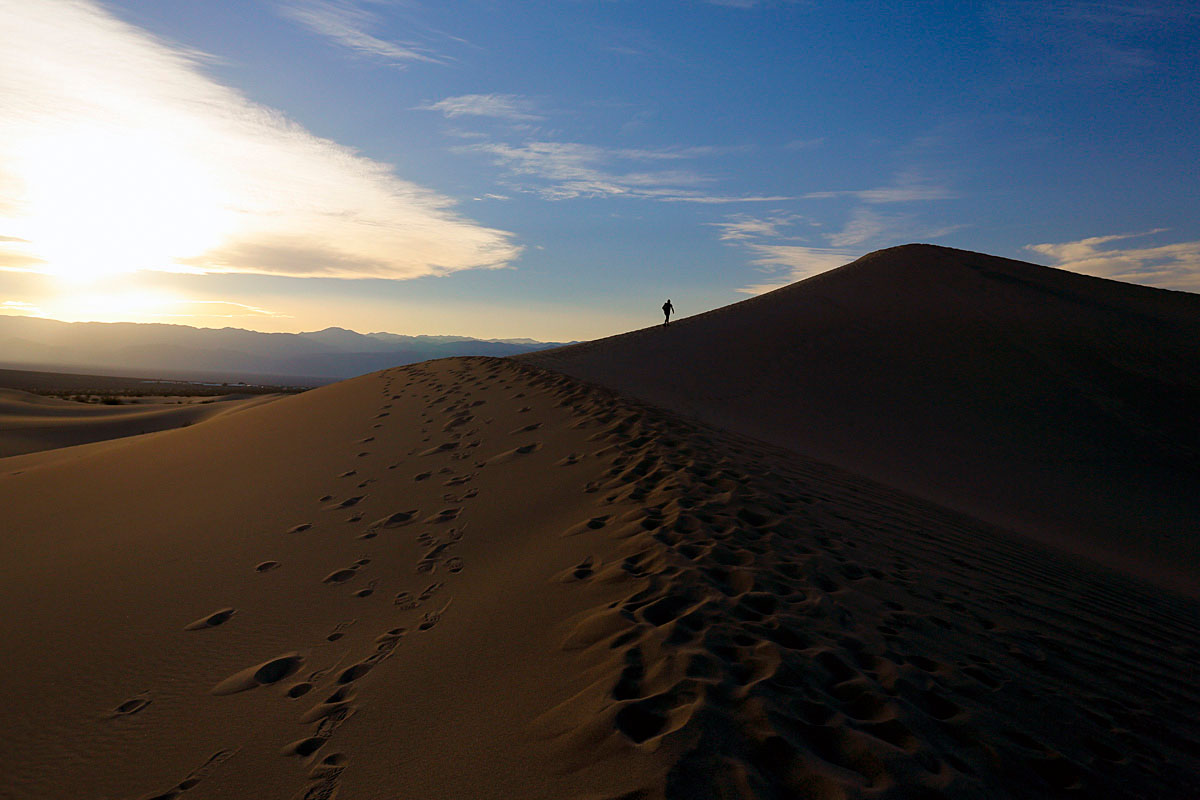
The first effect is one of scale; think showing a tiny hiker standing in a grove of ancient redwoods. Having the human form as a reference point will allow your viewer to appreciate the size of the trees.
Pro tip: to keep the figure from becoming too distracting shoot into the sun, so that your person becomes a silhouette. Also, position them so you can see gaps between their arms and body, this will keep the human form crisp and clean.
COLOR
Man this is one of those tips I hate giving up.
It requires a little understanding of how white balance works, which I’ll do my best to summarize here. To do so we’ll need to separate the concept of ambient color temperature, and in-camera color temperature. The ambient temperature is the reading in degrees Kelvin of the light in the landscape. For example, if you are shooting mid-day in full sun, that reading would be something around 5000 degrees Kelvin. If you’re under clouds that temperature creeps up to 6500, and in shade towards 8000. Conversely if you are under a traditional, bare light bulb (tungsten) that number would be 3200.
Here’s where it gets tricky, and those who have done film shooting should remember this to a degree. No pun intended. If you shot regular, daylight-balanced film under tungsten (3200 degrees Kelvin ambient temp) light, your photos would look orange. To correct for this you’d screw on a tungsten filter to your lens, which was blue.
With digital cameras the method of correction is adjusting your white balance, which in this case you’d set to the little light bulb icon, or manually you’d change the setting (often denoted by a “K” in your menu) to 3200. Pay attention here. By changing the color temp manually to 3200 (a LOW number) you’re adding blue. This balances the orange ambient light.
Low number = more blue.
Now let’s look at the dreaded auto white balance mode. The camera will do it’s best to determine the ambient color temperature by checking for something it thinks should be neutral toned (white or grey). It then adjusts for this automatically. Suppose you’re shooting in an ice cave, which to your eyes looks like a great deep blue. But when you take a photo your camera preview looks as if the ice is more grey. That’s because the camera is attempting to neutralize what it thinks is a color cast. It probably thinks that you are shooting in shade, and it setting the camera white balance to something like 8000. So it will add warm tones to neutralize the blue.
But you don’t want to neutralize the ice, do you? You want it to look like those hyper-saturated Icelandic blue ice caves you see in your Instafeed. How to fix? Easy. Take control of your setting. In an earlier blog I spoke of the importance of studying light when you get on location, before taking a camera out. Here you’d see the blue ice, and in your mind compose exactly how you want the photo to appear: what crop, what focal length, how much depth-of-field, and how much color.
To keep the cave blue you need to push your white balance manually to the LOW setting, as if you were trying to filter for warm tungsten light. This adds blue. Done.
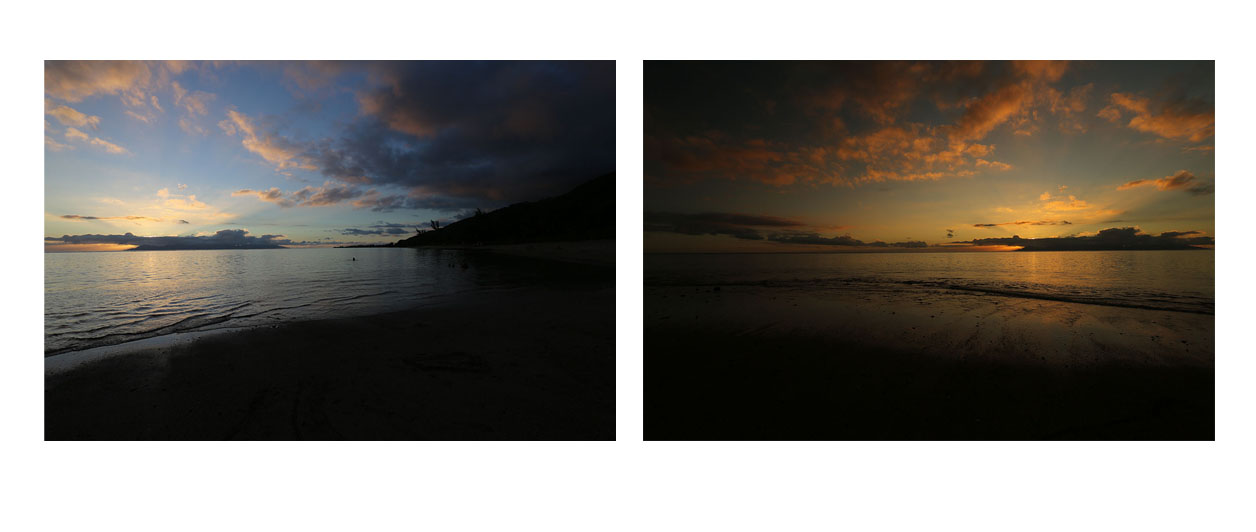
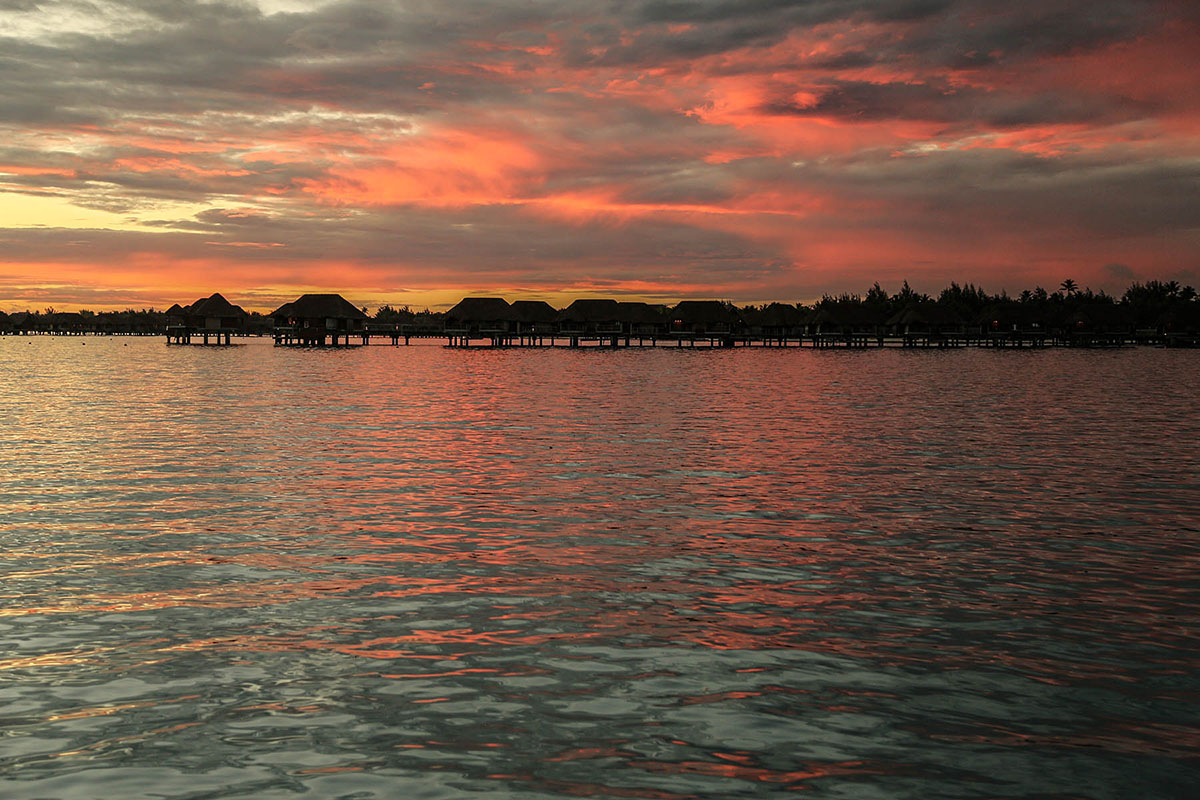
Next time you want to heat up a sunset roll your WB over to 9000 and see what happens. Mountainsmith can give you my address to send the thank-you gifts…
TECH
Before the dawn of drones a professional photographer had to capture aerial photos the old fashioned way: hanging from a helicopter with the doors stripped off. Some things should have never evolved…
About 10 years ago I was hired by a large construction company to photograph a New York City bridge, just after they finished renovations. With a project like this there are a few major considerations, primarily budget and light. At around $1500 per hour for a helicopter rental I couldn’t afford to be circling waiting for good light – timing here was critical.
The bridge spanned the Hudson River, and had a south-easterly exposure. To time the hero light I had to calculate when the sun’s incident rays would be hitting the bridge straight on, and as that calculation changes every day I had two choices: camp out days prior and hope for clear sunrises, or use a little technology. At that time I was using (and still use) a resource called the Photographer’s Ephemeris – which distills down the sun’s angle and time, allowing me to easily pinpoint when the bridge would be best lit.
Second to that a good weather forecasting app helps – in my bridge example I had to take off before sunrise, and daybreak brought clouds I’d have to explain to my client that I needed another couple of thousand dollars for air support. I like wunderground for this – which I’ve found to be extremely reliable with good hourly forecasts and all the radar maps I need.
Rounding out my forecasting tech there’s SunsetWX. This site gives a fairly accurate prediction of sunrise/sunset clarity and color, and is useful adding as a resource when specifically heading out to shoot in the golden hours.
If you’re serious about light this app belongs on your phone, one you’ll find yourself launching before every outdoor shoot you consider.
Hopefully these tips will help bring some new dimension to your landscapes, don’t forget to tag up #forgedforlife in your social feeds to show off some of your outdoors work with the Mountainsmith crew!